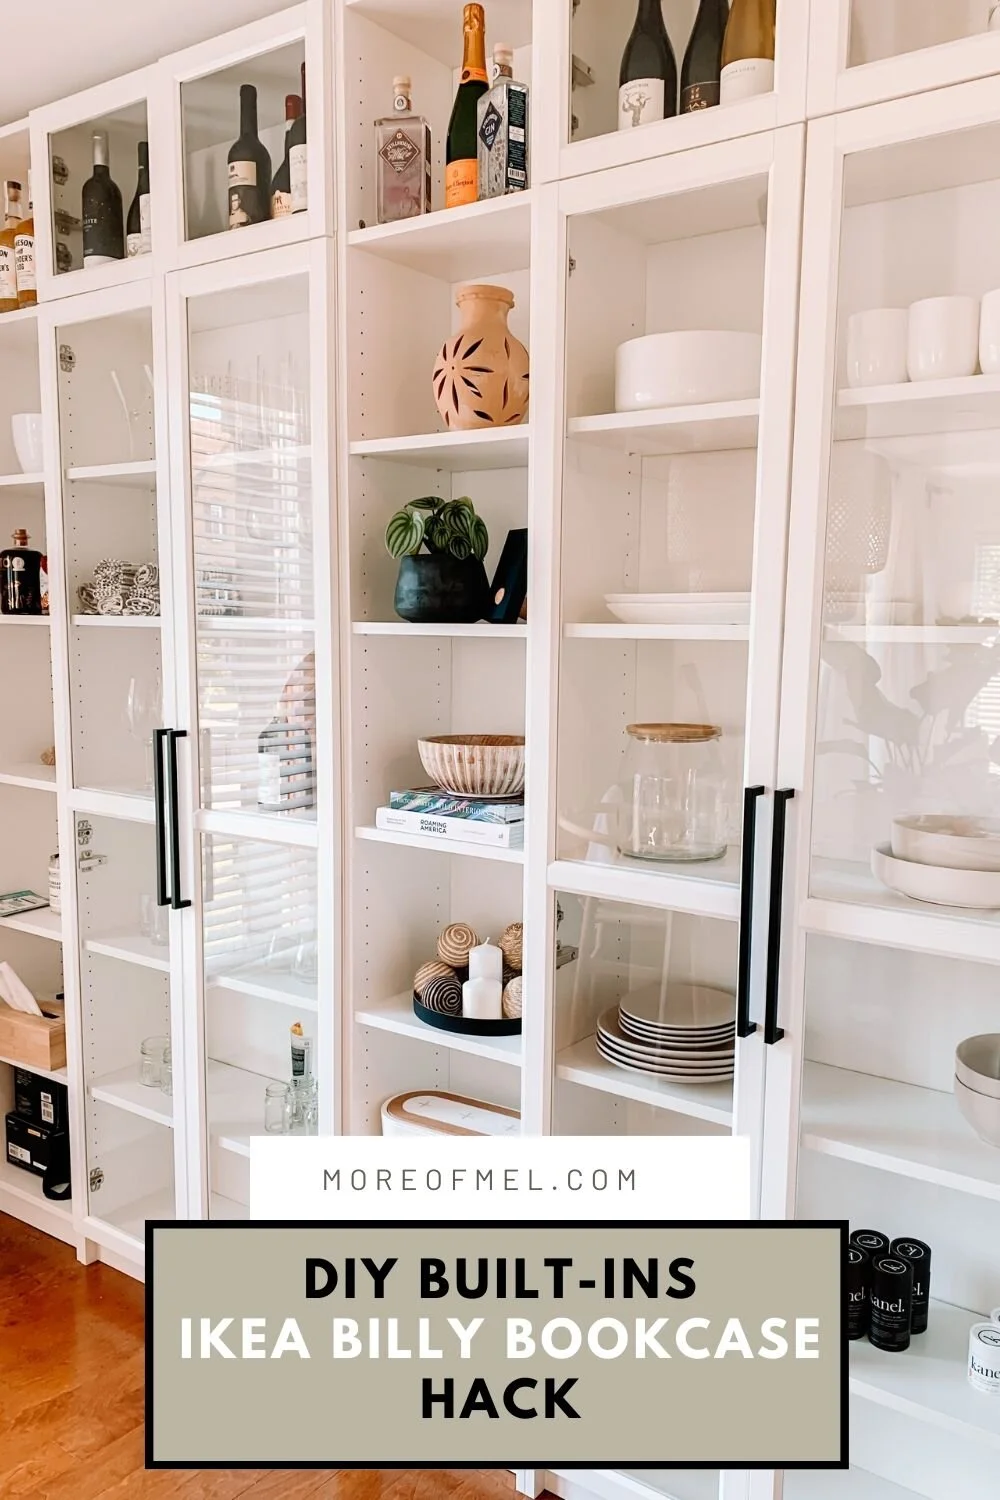
PT 4: DIY BUILT-INS USING IKEA BILLY BOOKCASES
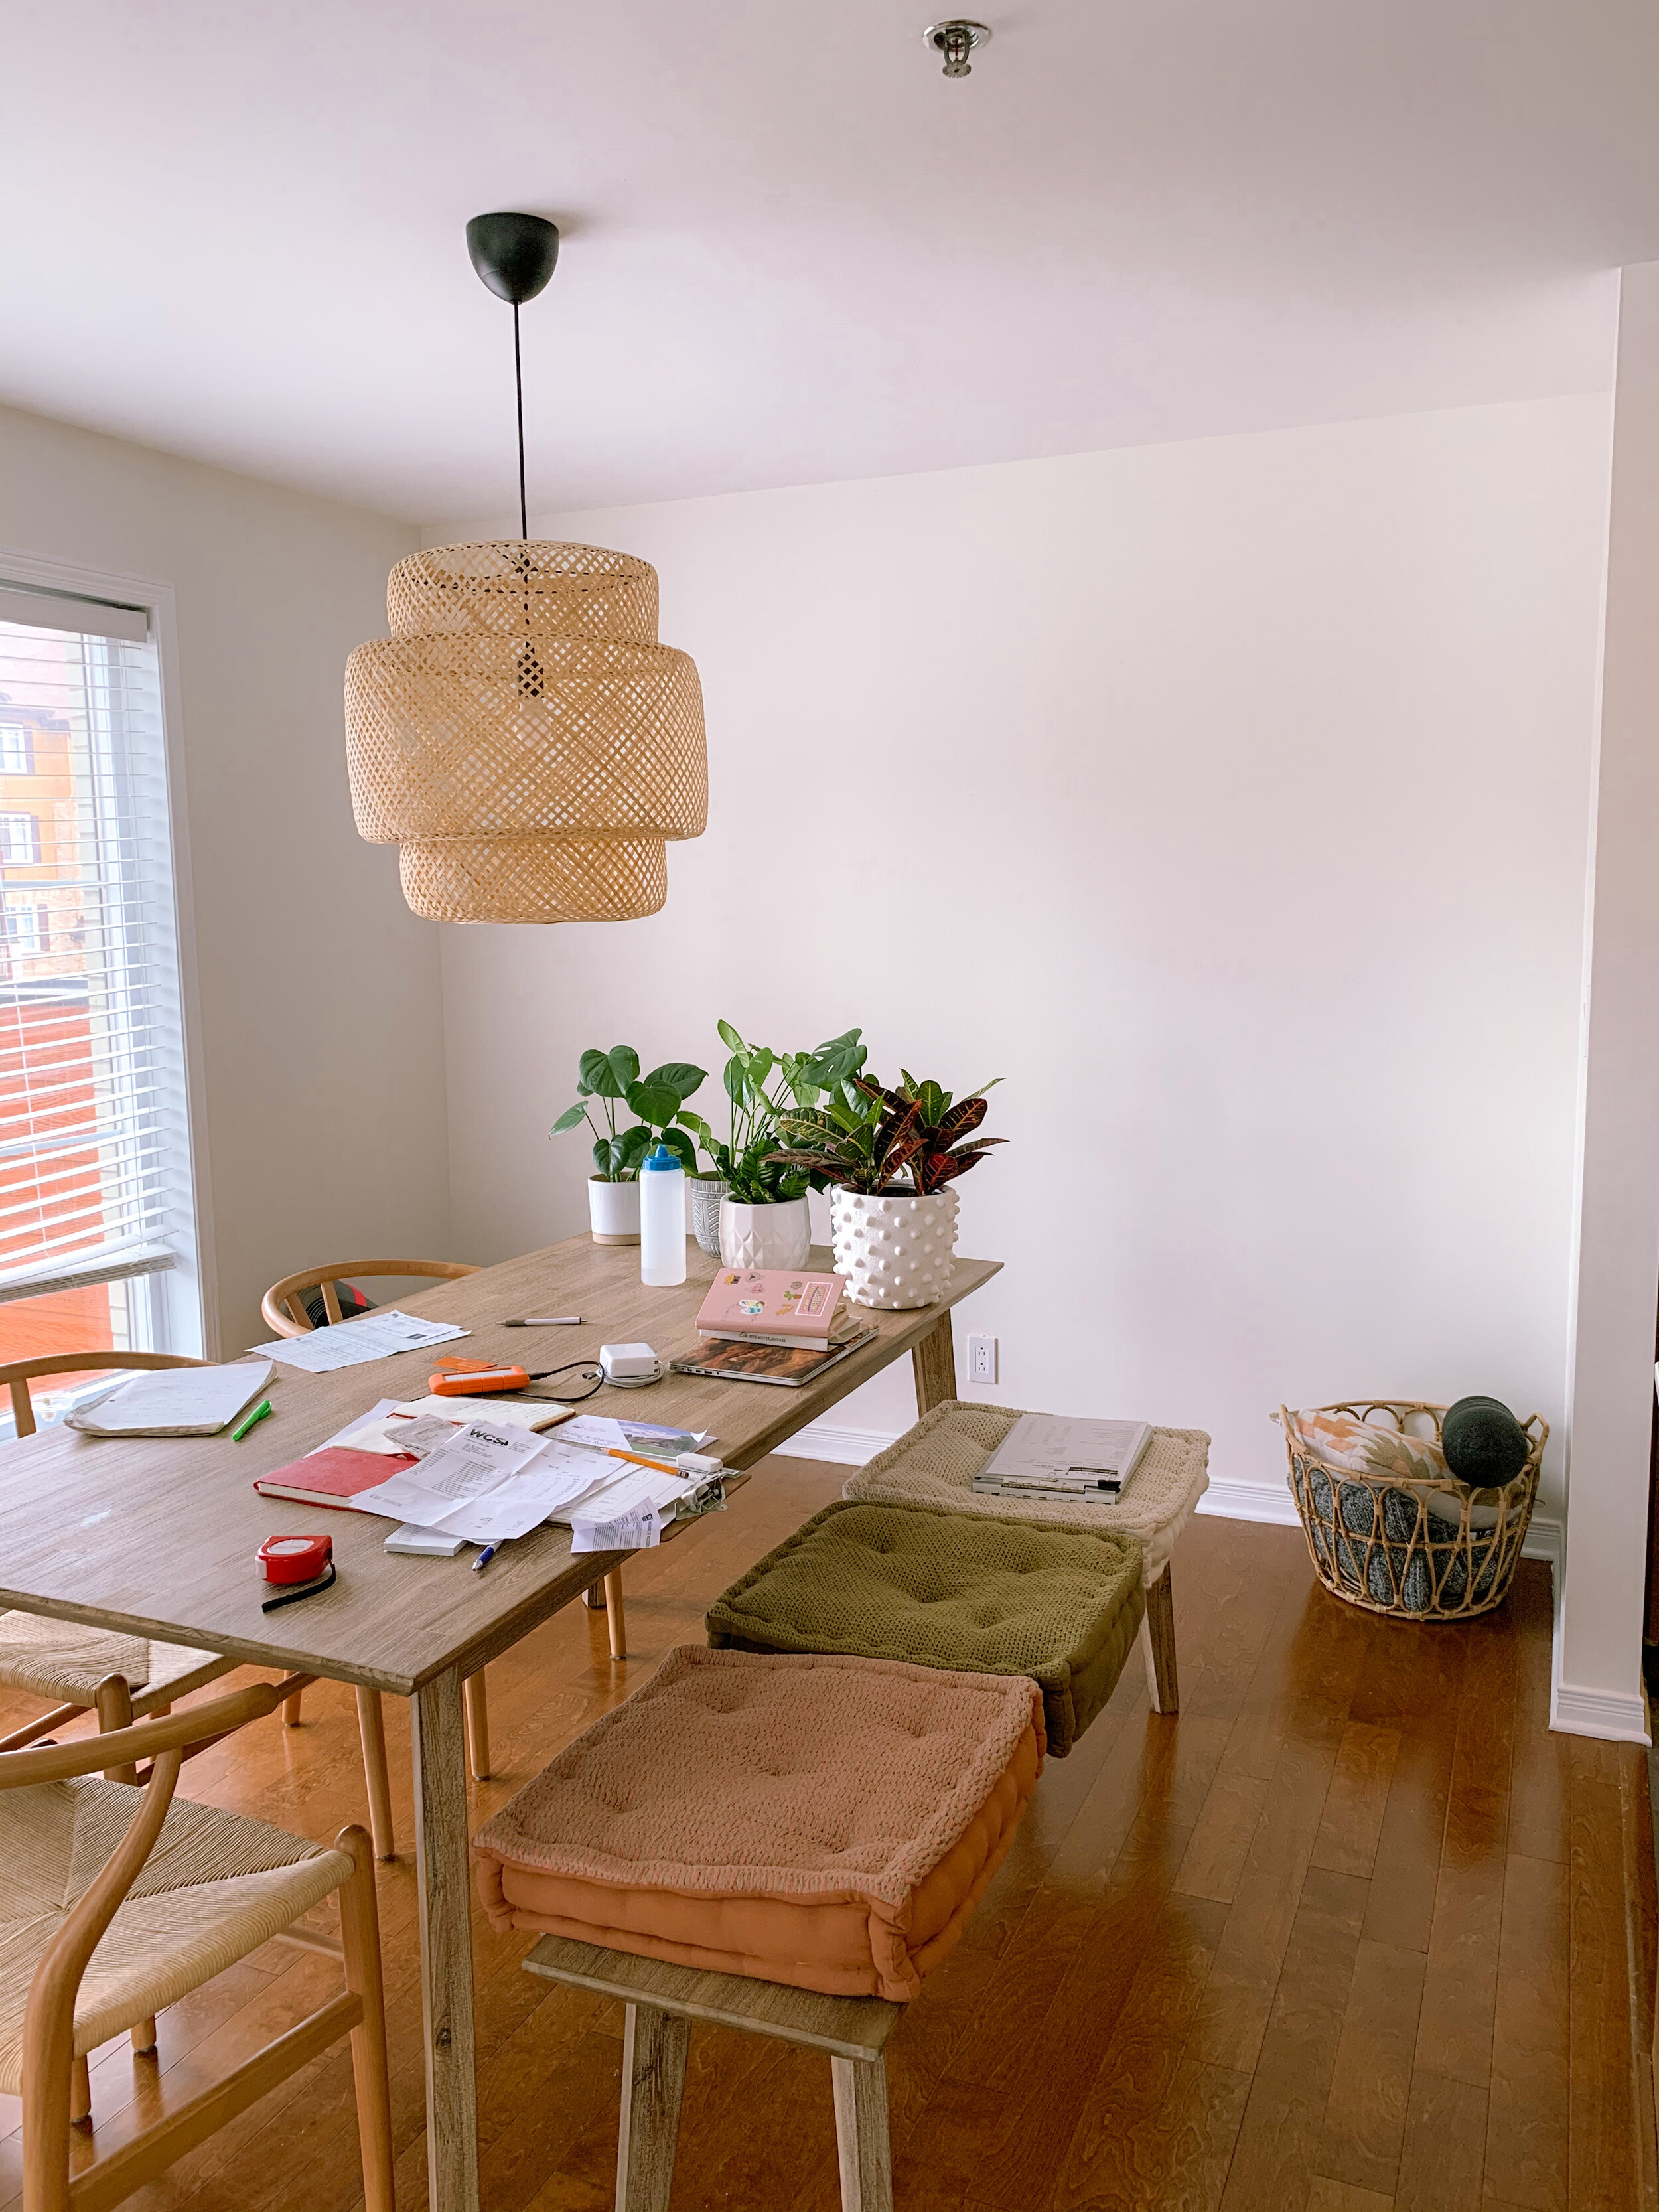
Ever since posting on instagram about the built-ins we put in our dining room I’ve gotten so many questions about how we did it. If you’re not sure what I’m talking about I’ll include a before and after image below! The best part is, when I tell people we bought everything at IKEA their jaws drop. This is by far one of my favourite IKEA hacks!
HERE’S HOW WE DID IT:
First, we measured the length of the wall. We made the decision to cut out our moulding where the unit was going to touch so it would sit flush to the walls as much as possible. We looked up the measurements for each unit on the IKEA site and found out that we’d be able to fit 5 units total. Here’s what we ordered:
2 Billy/Oxberg Bookcases (with addition on top) — $210/each: https://www.ikea.com/ca/en/p/billy-oxberg-bookcase-white-s69217714/
3 Billy Bookcases — $70/each: https://www.ikea.com/ca/en/p/billy-bookcase-white-s49217734/
There were 1.5 inch gaps on either side that we wanted to fill and caulk so that it would look like a real built in. We got 1.5” thick melamine that we secured to the unit and then we caulked the small gap to fill up the rest of the space. Mike even took it one step further and painted the the melamine and caulking after drying to make everything look uniform.
WHY WE WANTED TO BUILD THIS UNIT
We live in a condo and storage space is limited. A lot of our serving dishes are white or neutral tones so we took those out of the cupboards and displayed them in the unit. It freed up space for other things and the feature wall looks really clean and beautiful.
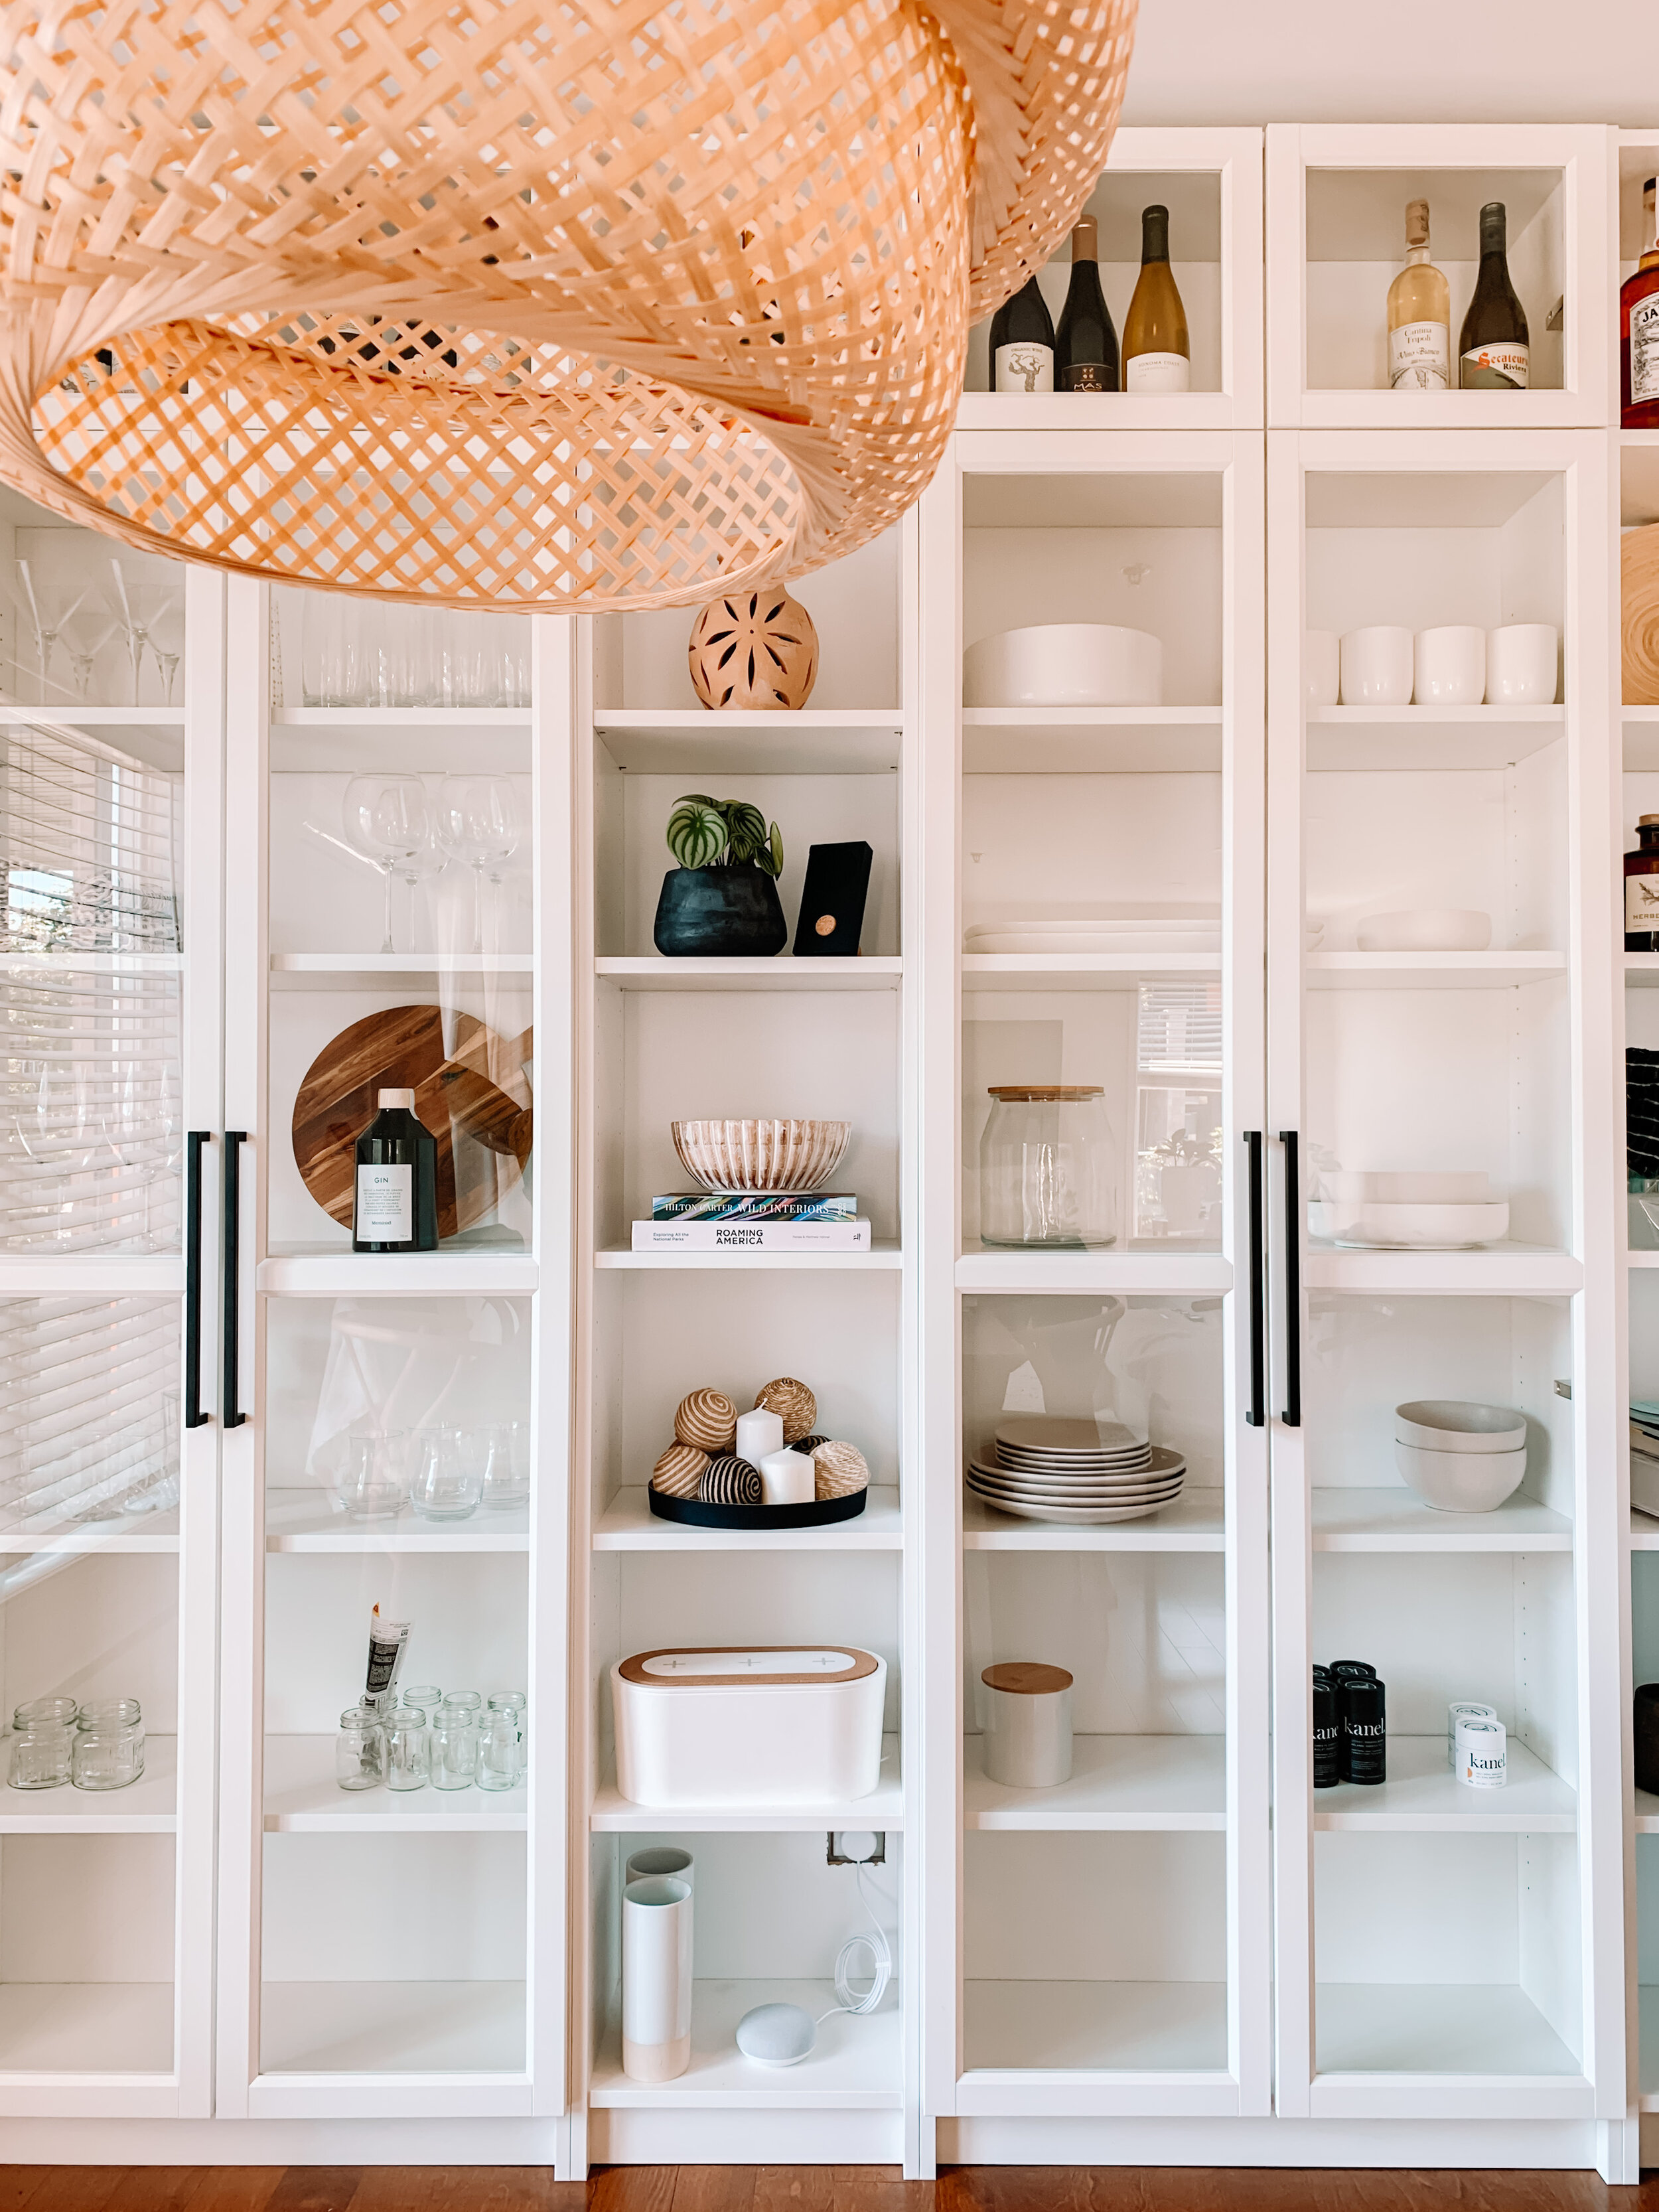
IKEA BILLY BOOKCASES
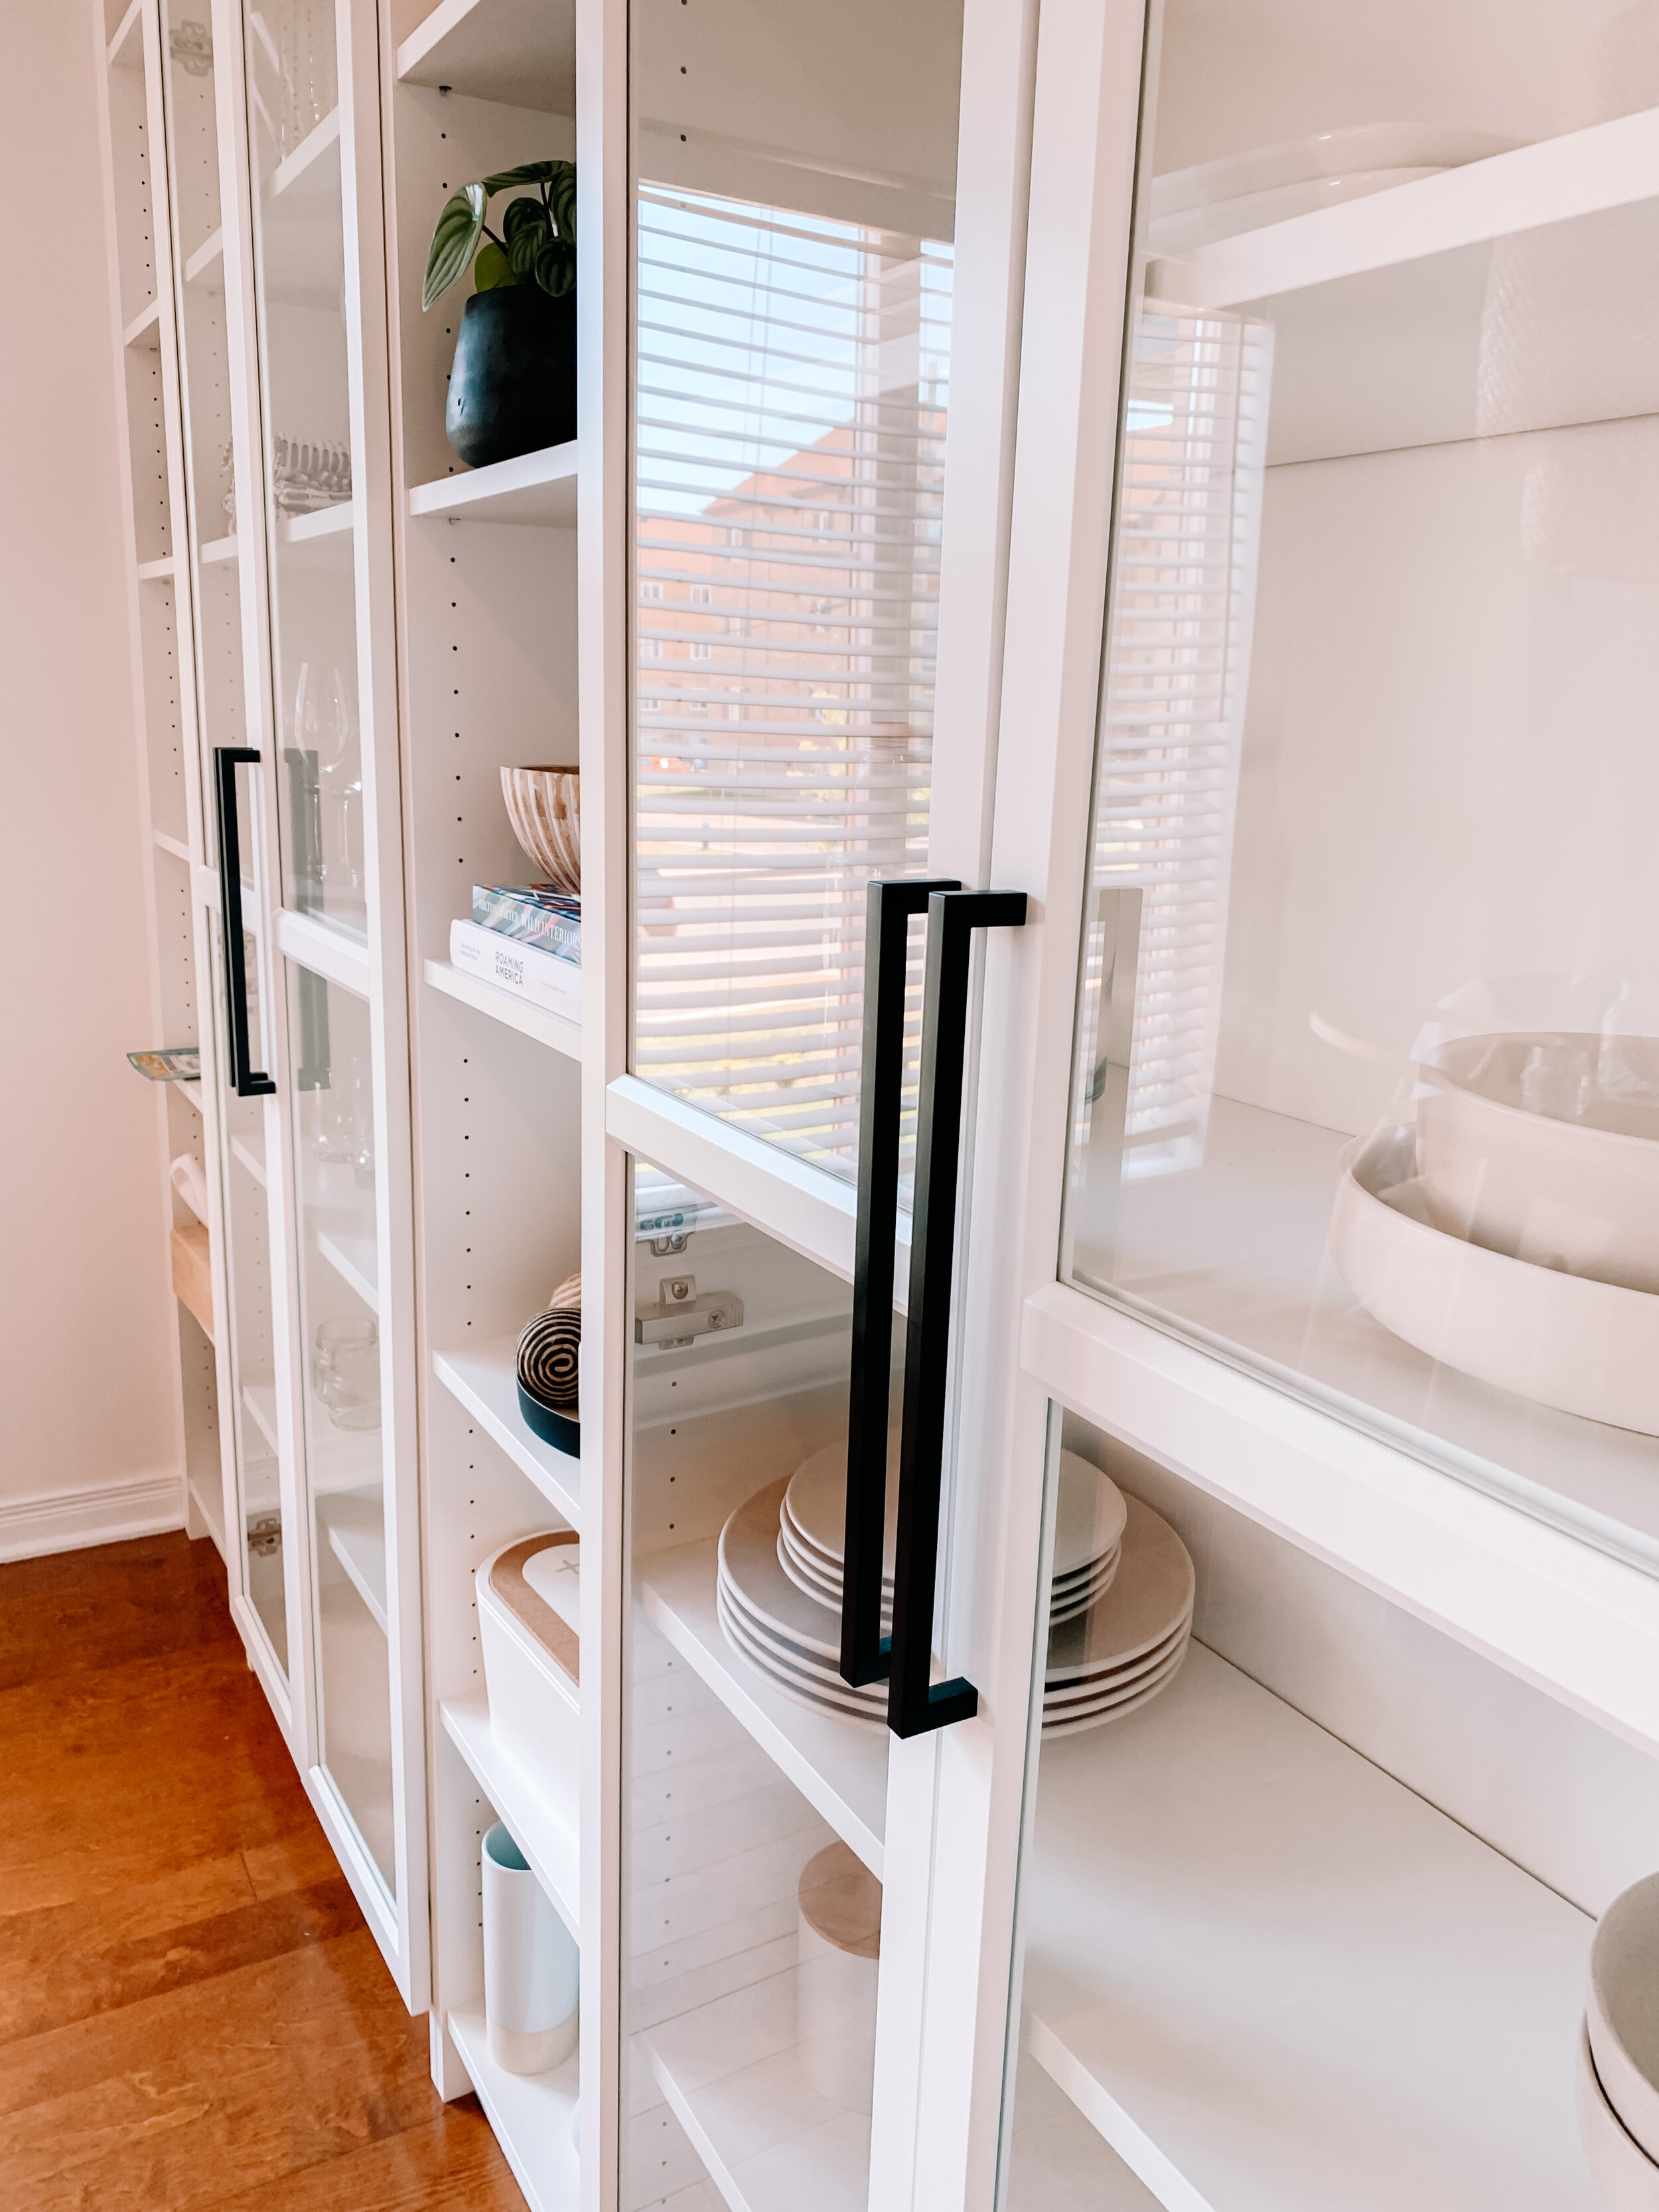
WHERE DID YOU GET THE LONG BLACK HANDLES?
This is the only part of the unit that is not IKEA. The unit comes with little white nobs but we didn’t feel like they would’ve done this unit justice so we ordered these longer handles from Amazon ($27.99). We love them!! It adds a more modern and luxurious feel to the space and they really stand out!
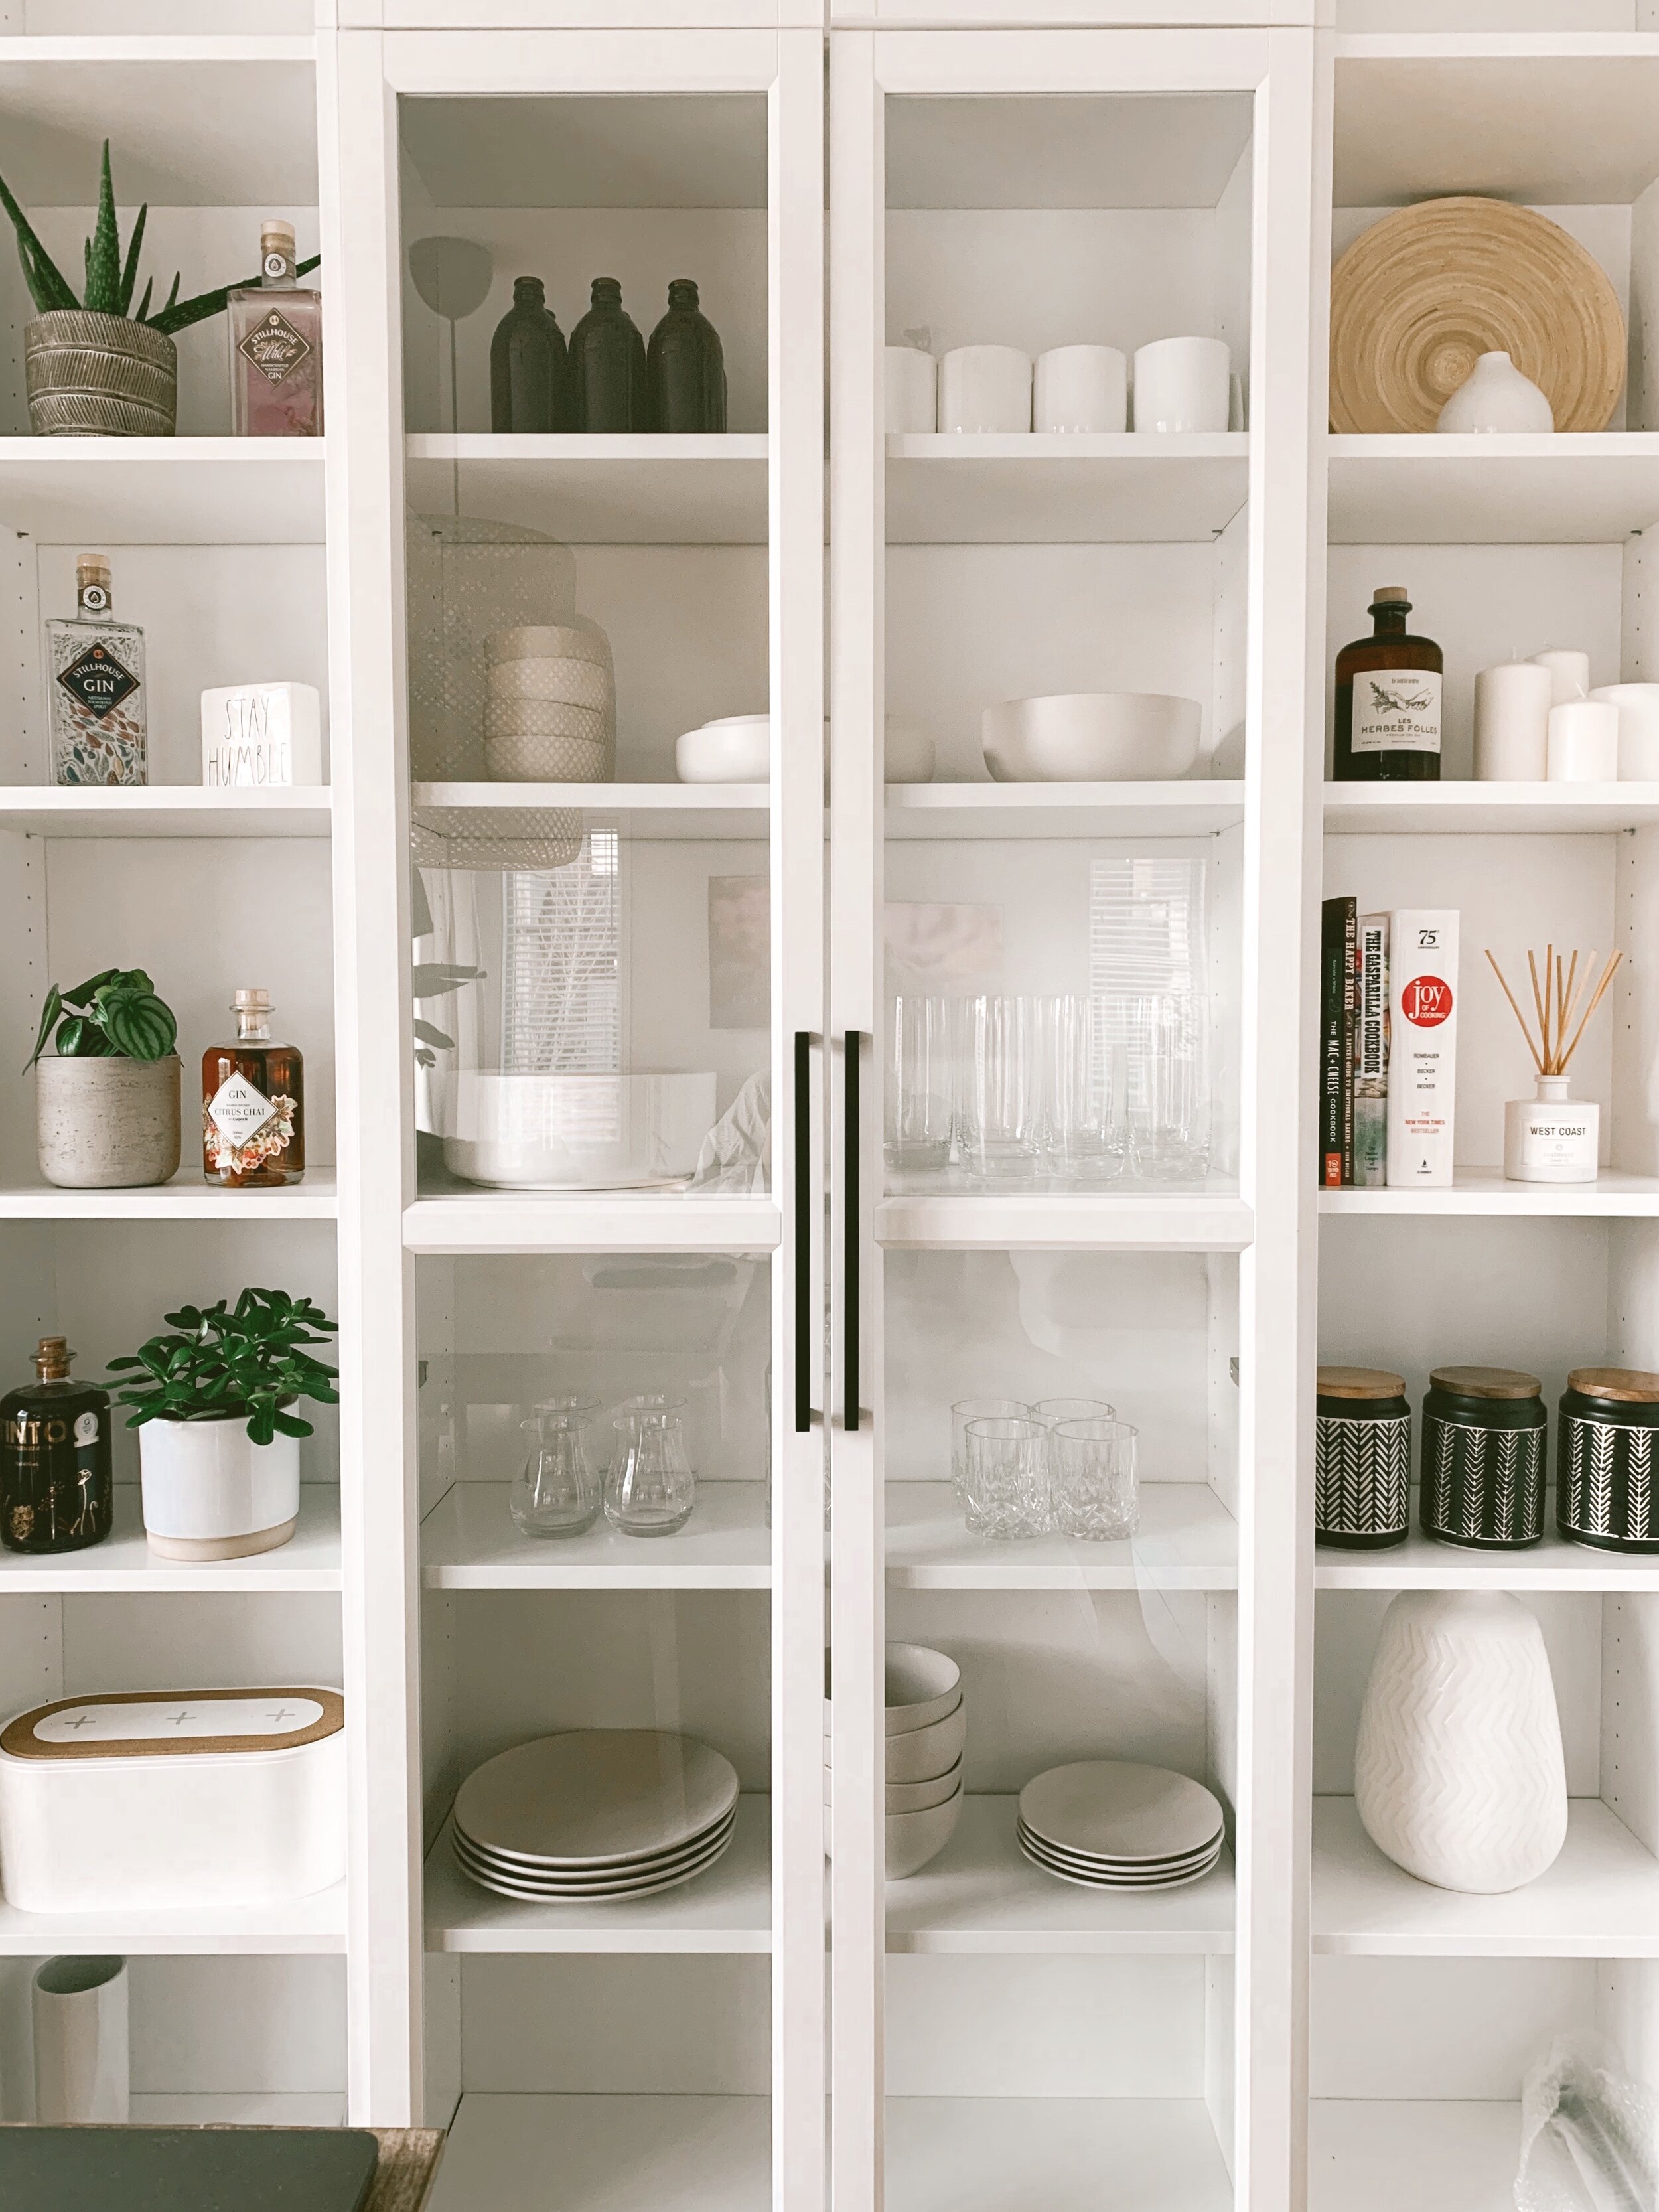
WHAT DID WE PUT IN THE UNIT?
A combination of small plants, cook books, extra dishes, platters, serving boards, salad bowls, all kinds of glass wear and some bottles of alcohol that had wood or cork tops to tie in with the natural elements we were going for.
TOTAL COST OF THIS PROJECT: Approximately $800 (CAD) after taxes and extra materials to finish the sides. It was worth every penny! This unit is now a permanent fixture to this wall so whether we rent our place to someone or sell it’ll add to the appeal of the condo.

MY THOUGHTS
Putting the IKEA units together was really easy. You definitely need 2 people for securing everything to the wall and if you want to give it the “built-in” look with the caulking and melamine that I was talking about then call up a handy family member or friend to help you out. It was extremely worth the money in my opinion because as I said it gave us so much more room in our kitchen cabinets and we find that it makes the space look bigger. If we hired someone to do custom built ins we were looking at at least $2500 so this IKEA hack was definitely worth it!
LIKED THIS POST? PIN ONE OF THE IMAGES BELOW FOR LATER!